I've been interested in 3D for a while. Decided I wanted to take things to a new level with an attempt at creating photo realistic imagery using Blender. In this post I show off some of my first attempts in this field.
What to use as a project?
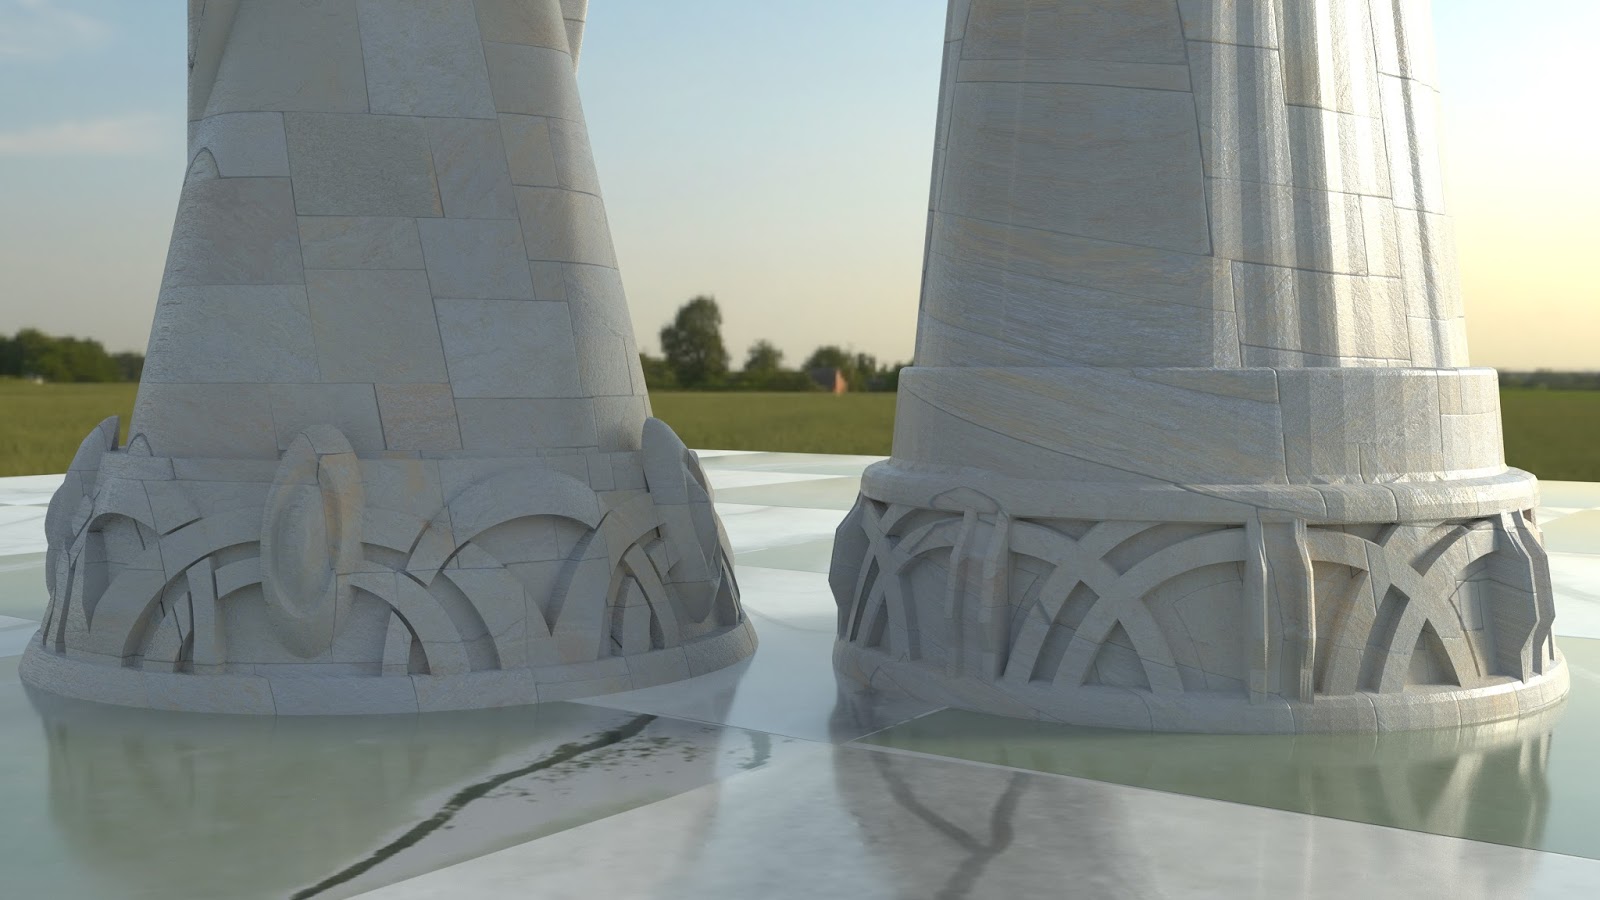
Decided I needed to create an environment in which to practice. I had already created some models of chess pieces I hope to get 3D printed into a full-blown chess set. The thought crossed my mind that I could model a chess board in Blender, and place what pieces I have created on the board. Figured this would be something interesting to show off as well.
Resources
I searched around on Youtube and came across a channel called Blender Guru. This guy has all kinds of vids on 3D creation, in particular using Blender as the primary tool. He constantly plugs his own web site, which has a decent amount of free resources for texturing and backgrounds. So, all of the texturing you see in the images in this post come from this guys web site which is
https://www.poliigon.com/. Without his generous sharing of resources and information none of these images would be possible. I hope in the future to create my own textures and back grounds for objects and settings.
The images
Below are some of the more successful renderings that have resulted from educating myself on using Photo realistic materials and textures.
Objects
I used a marble texture on the board squares, Fine dark wood for the edge of the board. On the pieces themselves I am using a tile texture that would normally go on a pathway on the floor in a home. But for purposes of learning how to texture objects i think they work pretty good on the pieces. I am using the same texture on the pillar holding the board up.
Background
For the background I am using a 360 degree VR high dynamic range photo provided by Poliigon.com. This definitely ads serenity to the scene. It also simplifies things a bit, because the sun is the single source of light in the image.
What I learned from this: Imperfection is the goal
It is so easy to make things look perfect in a 3D environment. The human eye is very hard to trick. In order to push realism in Photo realistic imagery it is necessary to tweek edges and serfaces in such a way that they look like they have been created by human hands. With these images that is a mixed bag. On the joints of the board, I did a decent job of this. However, the corner edges going along the board are too straight to be considered realistic. So there is much I would have to do to push the realism even more. All things considered, this is not a bad first attempt.


No comments:
Post a Comment